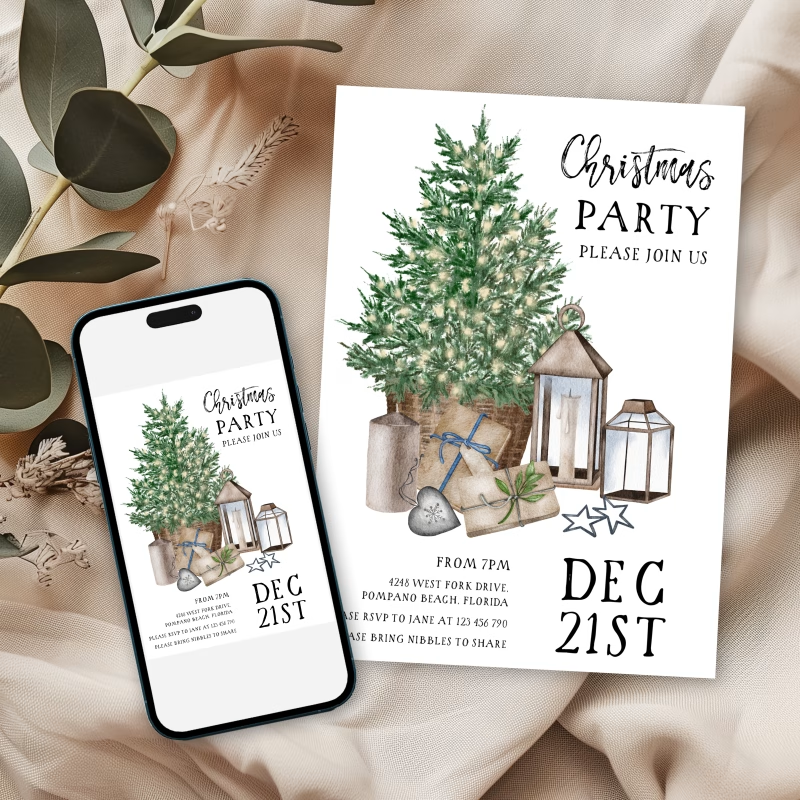
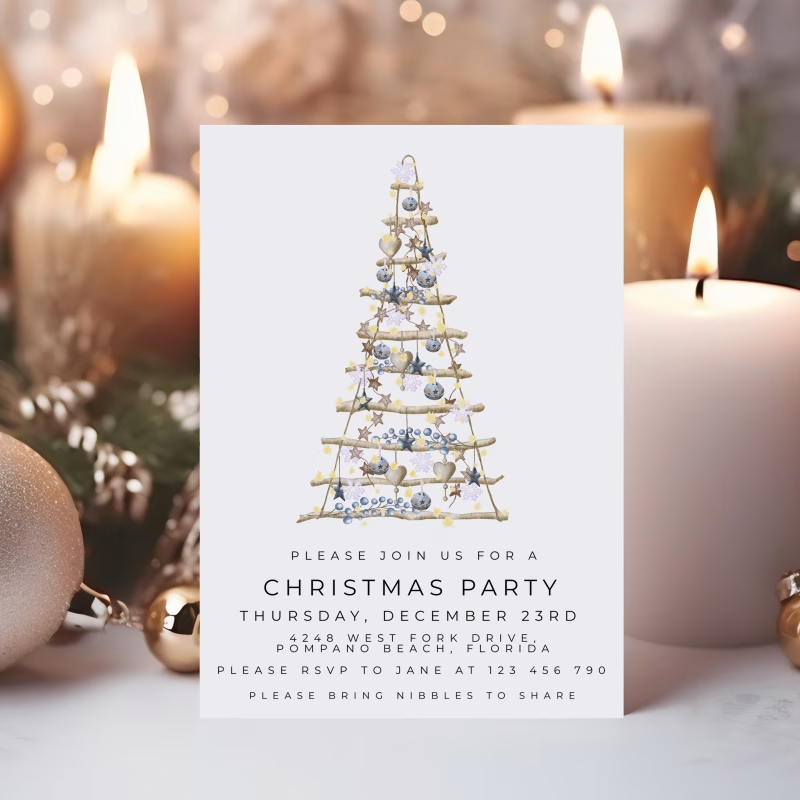
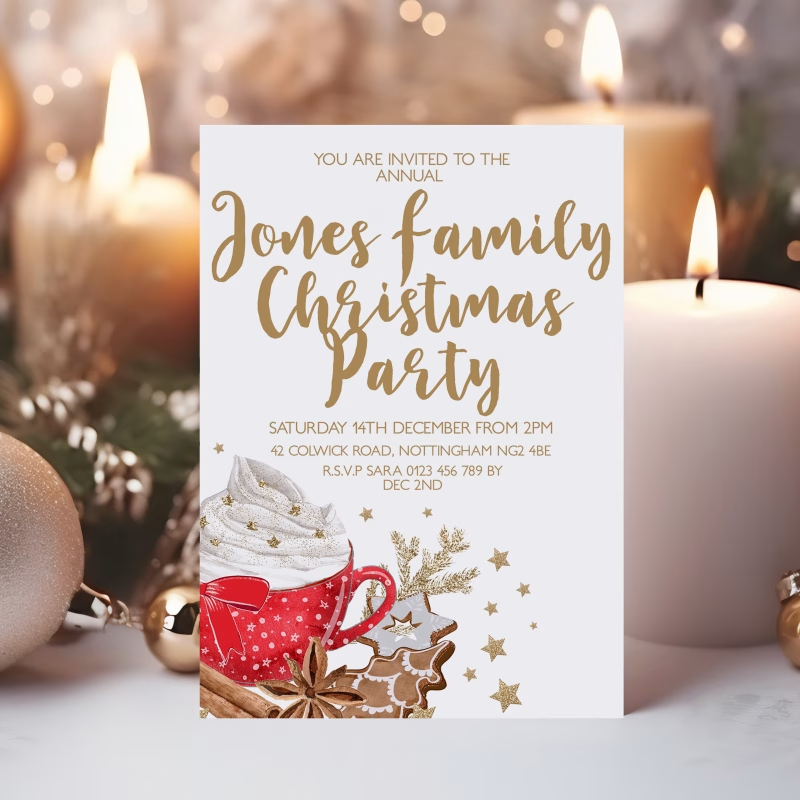
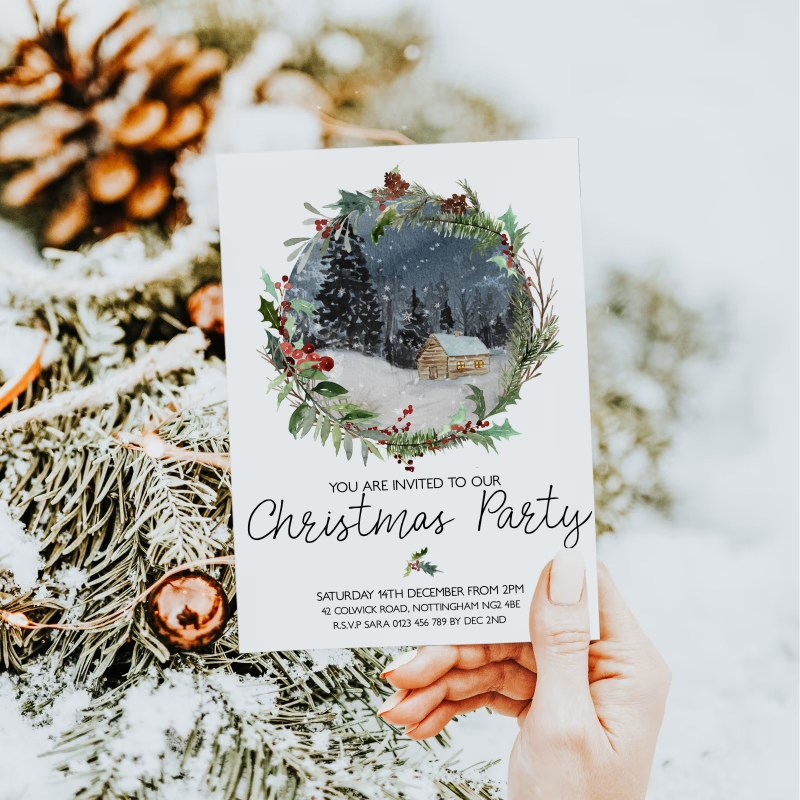
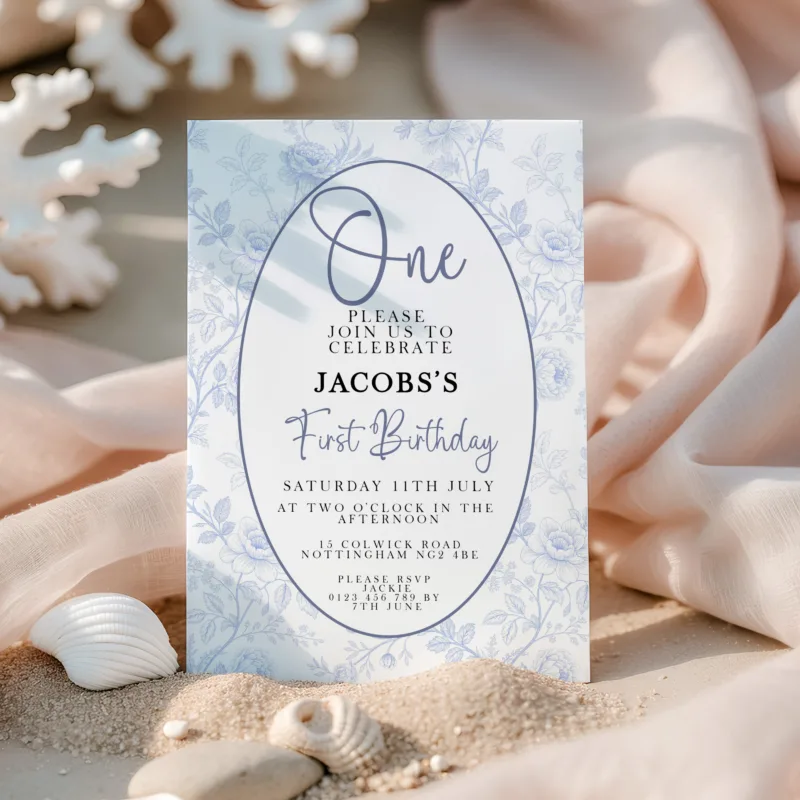
Try Before You Buy: How to Make Sure Your Invite Is Perfect with Corjl’s Demo
So, you’re on the hunt for the perfect invitation—something that will set the tone for your special event and wow…
Benefits of Choosing Digital Invitations Over Printed Ones
Hey party people! So, you’re planning an amazing event, and you’re at that stage where you need invitations. You’re probably…
How to Get the Most Out of Your Corjl Invitation
So, you’ve found the perfect invitation for your party—yay! You’re ready to add your personal touch, and maybe you’re feeling…
Top 5 Mistakes to Avoid When Editing Your Corjl Invite (and How to Get It Just Right!)
So, you’re ready to edit your Corjl invitation and make it totally you—yay! We’re all about celebrating those exciting life…
Sparkle Without the Mess: The Magic of Printable Glitter Effect Invites
Printable glitter effect invites are the perfect way to add sparkle to your party without the hassle of real glitter….
A Beginner’s Guide to Using Corjl Invitations for the First Time
So, you’re planning a party and you’ve found these amazing editable invitations, but… wait a minute. What even is Corjl?…
Corjl is a powerful online editing platform that allows you to create and edit personalized items in your browser. So there is no software to download and learn. Most of the text is editable so you can change the details to fit your party. Some of the invites already have photos that you can swap for your own photo to make it truly personal.
In each listing, there is a demo url so that you can try the invite before you buy.
If you get stuck at any point with your invite you can send us a message and we can log into your order and help.
Please Note: If you are personalizing an item on a mobile device, you are limited to only replacing the text and replacing images. You will need to use a desktop or laptop computer to access additional features. Also, please note that Google Chrome is the recommended browser for using Corjl. Not all features may be available or shown in other browsers.
Personalize – Double click directly on the text you want to personalize to change/delete it. You can also personalize text by selecting it, then typing in the text box located in the tools panel (upper RH side of the screen). To add a new text box (if available), click on Add Text Box in the tools panel.
Text Editing Tools Options
● Font Color – Select the text you want to change and click on the color rectangle in the tools panel to choose a new color or select a color from the provided color palette (if provided). You can also select a color from the design directly by clicking on a colored area with the “eyedropper” tool.
● Font Size – Select the text you want to resize, then choose a number or enter it in the drop-down box in the tools panel.
● Character and Line Spacing
– Adjust the spacing between letters/lines. Select the text you want to change, then click on the line or height spacing icons and adjust using the sliding bars or by manually entering a number.
● Resize as Image – Select this option to be able to change the shape of a text box as if it were an image. Once checked, you can stretch and compress the text. Unchecking the box will undo any changes.
● Glyphs
– Use the Glyphs button to open the different glyphs available for that font. Click on the glyph you want to add and then click the copy button. Once copied, go back to the text and click where you want to add the character, and click Ctrl/Cmd+V to paste the glyph into the text.
● Font Style – Select the text you want to change and choose a different font style from the drop-down box in the tools panel. You can select from the following style options:
○ Drop Shadow – Select the text you want to add a drop shadow to, then click on Style Text in the tools panel and select Drop Shadow from the drop-down menu. Change the color, offsets, and blur of the shadow.
○ Stroke (outline) – Select the text you want to add an outline to, then click on Style Text in the tools panel and select Stroke from the drop-down menu. Change the color, distance (thickness), and opacity of the outline.
○ Curved – Select the text you want to curve and select either a full Circle shape or an Arc. Adjust the degree of the curve you want with the slider tool.
○ Outer Glow – Select the text you want to add a glow to, then click on Style Text in the tools panel and select Outer Glow from the drop-down menu. Change the color and distance (thickness) of the glow.
○ Gradient – Select the text to which you want to add the gradient, then click on Style Text in the tools panel and select Gradient from the drop-down menu. Select a start and end color in the color boxes (or choose Transparent), then adjust the angle of the gradient using the circular dial.
○ Opacity – Select the text you want to make transparent, then click on Style Text in the tools panel and select Opacity from the drop-down menu. Enter a number or use the slide bar to adjust the opacity.
○ Rotation – Select the text box you wish to rotate and use the slider to rotate the text to the desired amount. You can also rotate text by hovering the mouse over the small white circle at the top of the text box until a circular arrow appears and circling the mouse.
○ Blend Mode – Change how text and graphics blend with the background or other elements by using a different “blend mode.” You can choose from the following blending options from the Blend Mode drop-down box: Multiply, Screen, Overlay, Darken, Lighten, Color Dodge, Color Burn, Hard Light, Soft Light, Difference, or Exclusion.
Right-Click Menu Options
Right-clicking on a text box will give you the ability to Cut, Copy, Paste, or Delete the text box. You can also Duplicate a text box and Flip it horizontally. Additional options are:
● Dynamic – The Dynamic feature (default) allows the text box width to resize along with the text inside of it. Unchecking the Dynamic option will leave the text box width the same size regardless of the size of the text inside (so the text will wrap within the box).
● View – Allows you to Show Rulers for the artboard, Zoom In or Zoom Out, and Zoom to 100%. You can also use the “magnifying glass” icons at the top of the artboard to zoom in or out.
● Rotate – You can choose to rotate a text box either 90, 180, or 270 degrees with this option. Selecting 0 degrees will return the textbox to its original position. You can also rotate a text box by hovering on the white dot at the top of the box and clicking and dragging in the direction you wish to rotate.
● Align to Artboard – Use these options to align a text box to the top, bottom, far left, far right, vertical center, or horizontal center of the artboard
Prepare – If your image needs to be cropped, please do so before uploading. Crop an image for free using an online photo editor, such as picresize.com, imageresize.org, or befunky.com. Also, depending on the size of the file, you may need to resize it as well. Most Corjl designs will only allow images up to 6 MB.
Add Images– Upload a graphic or photo by clicking on the Add New Image button in the tools panel. If offered, you can select from images provided by the designer, or upload your own. You can adjust the size and rotate the image (see above).
Replace – To replace an existing image, click on it and you will see a button in the tools panel that says Replace Image. Upload your image and it will replace the existing image. Your seller may have provided extra images as well that you can choose from to replace.
● Photo/Image Tips: If your photo does not seem to fit the space provided, use the “grey dots” found in the corners of the photo to resize (zoom in/zoom out) until the image fits the area.
If you add a photo and it is floating above or below the area of the design where you want it to be, click on the Layer for that photo in the Layers Menu (far lower right) and drag the name of the photo layer up or below the other layers until it is showing in the desired area.
Do NOT resize the image by stretching the height or width (taller or wider) as this can distort your photo.
If you want to replace the photo you have added with a different photo, do not delete the photo. Instead, use the “Replace Image” button on the right to select a different photo.
- Saving Your Changes–When you are done with your changes to the design, click on the Save Changes button that is located on the far left of the page. You may save as many times as you like, but be sure to do a final save before downloading. If there is a red star next to the title of the design, it means that there are changes that have not been saved. The downloaded file cannot be edited. If you need to make additional changes, do so in Corjl and then save and download again.
- Downloading & Printing – Click the Download button on the far left menu to begin the download process. Depending on the seller settings, you may see a small number next to the Download icon. This number indicates the number of times you can download your files. If you are in need of more downloads, please contact your seller for help. When you click the Download button, the Download Design window will open and you will be able to select your download options from there.
● PDF File Options
- Choose Paper Size – If downloading as a PDF, select the paper size. The size of the design will remain the same regardless of the paper size chosen.
- Add Bleed/Trim Marks – Your design may include a bleed (.125 extra edge around the design). Choose to include the bleed and/or trim marks to allow for easier trimming if desired.
- Enable Multiples Per Page – Select Print Multiples Per Page If Possible and the design will download with multiple copies onto the designated paper, if possible.
- Tile Same Design/Tile Different Designs – This option will fit either the same page of the design on the same page of the PDF, or it will fit the design pages in order onto the same PDF page. For example, if printing a single invitation, front and back, you will want to tile the same design on each PDF page. If printing a design with consecutive pages (like table numbers or a brochure, for example) then you want to select Tile Different Designs.
- Download and Print – Click the Download PDF button to download. Both front and back files will download, if applicable to your design. After downloading, find the file in your Downloads folder. If you are printing at home, be sure that the file prints at 100% or Actual Size in the print settings (Scale to Fit). If you are printing at a print shop, save the file to a USB flash drive, SD card, or email depending on the printer’s requirements.
- All Formats Other Than PDF
Depending on the item or seller, you may be able to choose other file download options, such as JPEG, PNG, and Tiny PNG. Select the print option that works best for you and then select from the following options (if given):- Show Bleed – You can choose to add a bleed to your image (.125 extra edge around the design). Please check with your printer to determine if necessary.
- Page # – If your design has multiple pages, you can select which page you would like to download; or you can download all the page files at once either individually or in a zipped file. Please note that if your design has multiple pages and is taking a longer time to download, it may be faster to download each page one at a time.
- Download and Print – After downloading, find the file in your Downloads folder. If ordering prints online, upload the image directly from your computer. You can also save the image to a USB flash drive or SD card and take it into a photo center to print. Be sure that the prints ordered are the same dimensions as the design.
Please Note: If you are personalizing an item on a mobile device, you are limited to only replacing the text and replacing images. You will need to use a desktop or laptop computer to access additional features.
Personalize – To begin editing text on your design in the Corjl Mobile Editor, click on the EDIT TEXT button in the bottom left corner. This will open up a text editing box that will allow you to delete or edit the text. Clicking the NEXT button will automatically move to the next text box available for editing You can also begin by double-tapping on the text you would like to edit and this will open the text editor box as well.
MovingText–Text can be moved ( if available for your design) by touching the text and dragging it to a new area.
Remove Unwanted Text – To remove unwanted text on the design, simply double-tap on the unwanted text and delete in the text editing box.
Resize – To resize text, select by tapping on the text you wish to resize and use the grey corner anchors to drag it inward or outward.
Rotate – Tap on the text you want to tilt or rotate and touch the white circle above it. While holding down on the white circle, rotate your finger in the direction you want to rotate the text.
Design Menu – to access the Design Menu, touch the icon with three white lines in the upper left corner of the screen. Here you will find Instructions from the Seller (if any) and any additional designs that may have been included in your purchase (if applicable). You can select a different design by swiping up to scroll through the options.
Saving Your Changes – When you are done with your changes to the design, tap on the “Save” icon that is located on the lower menu. You may save as many times as you like, but be sure to do a final save before downloading.
Downloading & Printing – When ready to download, tap the “Download” icon from the bottom menu to begin the download process. Depending on your seller’s settings you may see a number next to the Download icon. This number indicates the number of times the item may be downloaded. If you are in need of more downloads, please contact your seller for help. When you tap the Download button, the Download Design window will open and you will be able to select your download options
from there.
PDF File Options
○ Choose Paper Size – If downloading as a PDF, select the paper size. The size of the design will remain the same regardless of the paper size chosen.
- Page # – If your design has multiple pages, you can select which page you would like to download, or “All” for all pages.
- Show Bleed/Trim Marks – Your design may include a bleed (.125 extra edge around the design). Choose to include the bleed and/or trim marks to allow for easier trimming if desired.
- Enable Multiples Per Page – Select Print Multiples Per Page If Possible and the design will download with multiple copies onto the designated paper, if possible.
● All Formats Other Than PDF
Depending on the item or seller, you may be able to choose other file download options, such as JPEG, PNG, and Tiny PNG. Select the print option that works best for you and then select from the following options (if given):
- Show Bleed – You can choose to add a bleed to your image. Please check with your printer to determine if necessary.
- Page # – If your design has multiple pages, you can select which page you would like to download; or you can download all the page files either individually or in a zipped file.
File Download Options–After selecting the file type, tap the NEXT button to download the file. You can choose to either download the file directly to your mobile device or have the file sent to you by email. If emailing the file, type in your email address in the field labeled “Email Address” and then tap SEND EMAIL.
Printing – If you are printing at home, be sure that the file prints at 100% or Actual Size in the print settings (Scale to Fit). If you are printing at a print shop, save the file to a USB flash drive, SD card, or email depending on the printer’s requirements. PDF files print best on card stock paper. JPEG files can be printed on card stock or photo paper; be sure that the prints ordered are the same dimensions as the design.